
Six steps. Every filter.
No exceptions.
Most of what separates a repair from a result happens before anyone touches the filter. This is the documented sequence every job runs through, and you receive the measurements from each stage in writing.
- Documented steps
- 6
- Measured
- Before & after
- Typical total
- 4–8 hrs
- Written report
- Always
What actually happens to your filter
One of these six steps is the cleaning. The rest exist to establish whether cleaning is the right answer at all, and to prove it worked.
Step 01 · 15 minFilter Received
The filter is booked in against a job number before anything is touched.
- Filter identified, indexed and weighed on arrival
- Serial number, vehicle it came from and reported symptoms recorded
- Photographic record opened against the job number
- Condition on arrival noted, so any damage is established up front
Step 02 · 25 minFilter Assessment
An inspection to determine whether cleaning will actually achieve anything.
- Substrate inspected for cracking, melting and channel collapse
- Ash-to-soot ratio assessed to confirm cleaning viability
- A filter too far gone to clean is identified here, not after it is charged
- Go / no-go decision issued before any cleaning begins
Step 03 · 20 minBaseline Measurement
Flow and back pressure measured before cleaning, because without a before there is no after.
- Flow measured on a calibrated bench and recorded against the job
- Back pressure across the filter measured at the same time
- Restriction quantified rather than estimated
- The job cannot be completed later without this reading on file
Step 04 · 2–4 hrsIndustrial Cleaning Process
Multi-stage thermal and pneumatic cleaning through the full channel depth.
- Controlled thermal cycle to break down accumulated hydrocarbons
- Reverse-direction pneumatic pulse cleaning through every channel
- Ash extracted from the full substrate depth, not just the inlet face
- Process parameters logged against the job number
Step 05 · 20 minFlow Testing
Objective verification on a calibrated flow bench: the proof the clean worked.
- Post-clean flow measured on the same bench as the baseline
- Result compared directly against the pre-clean reading
- Restoration percentage calculated and recorded
- Filter returned to cleaning if it falls short of target
Step 06 · 15 minReport and Return
A written record of what was measured, what was done, and what to expect.
- Before and after flow and back pressure figures, from your filter
- Photographs of the filter at each stage
- Filter returned for refitting by your own workshop
- Advisory issued on what to check before it goes back on

Everything happens inside these channels.
What it actually looks like
Off the vehicle, into the cabinet, back out measured.
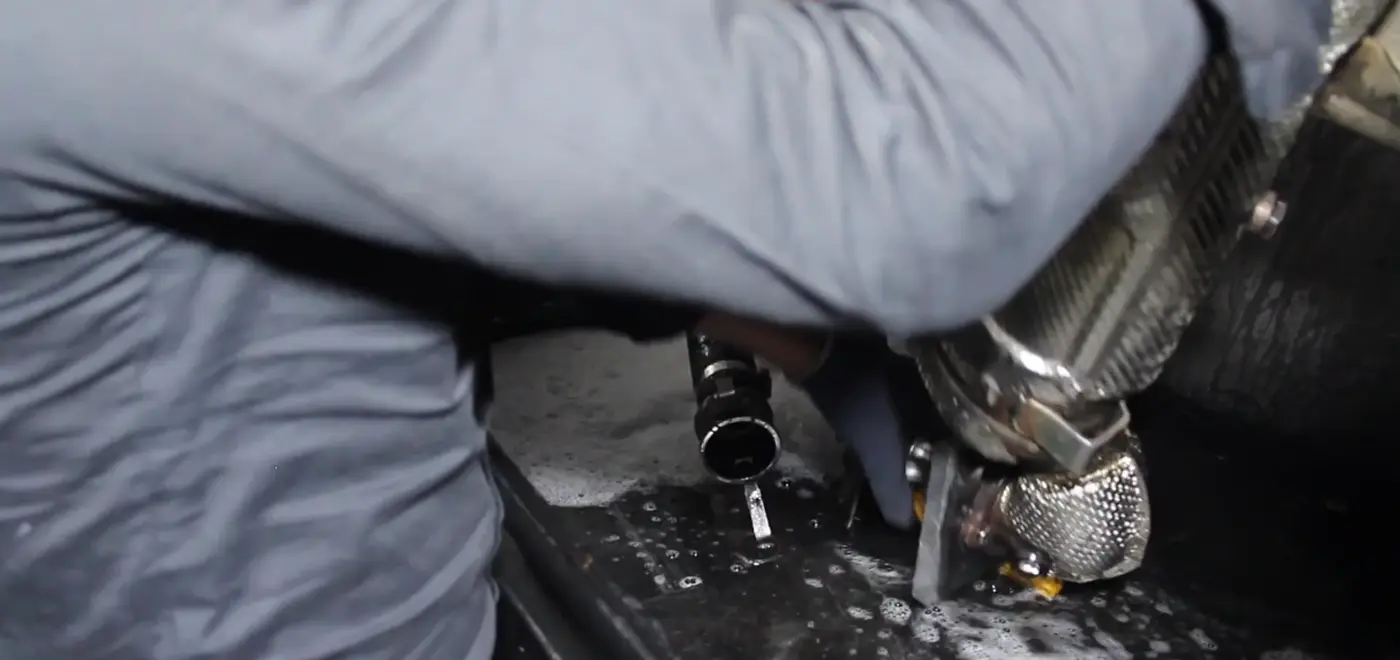
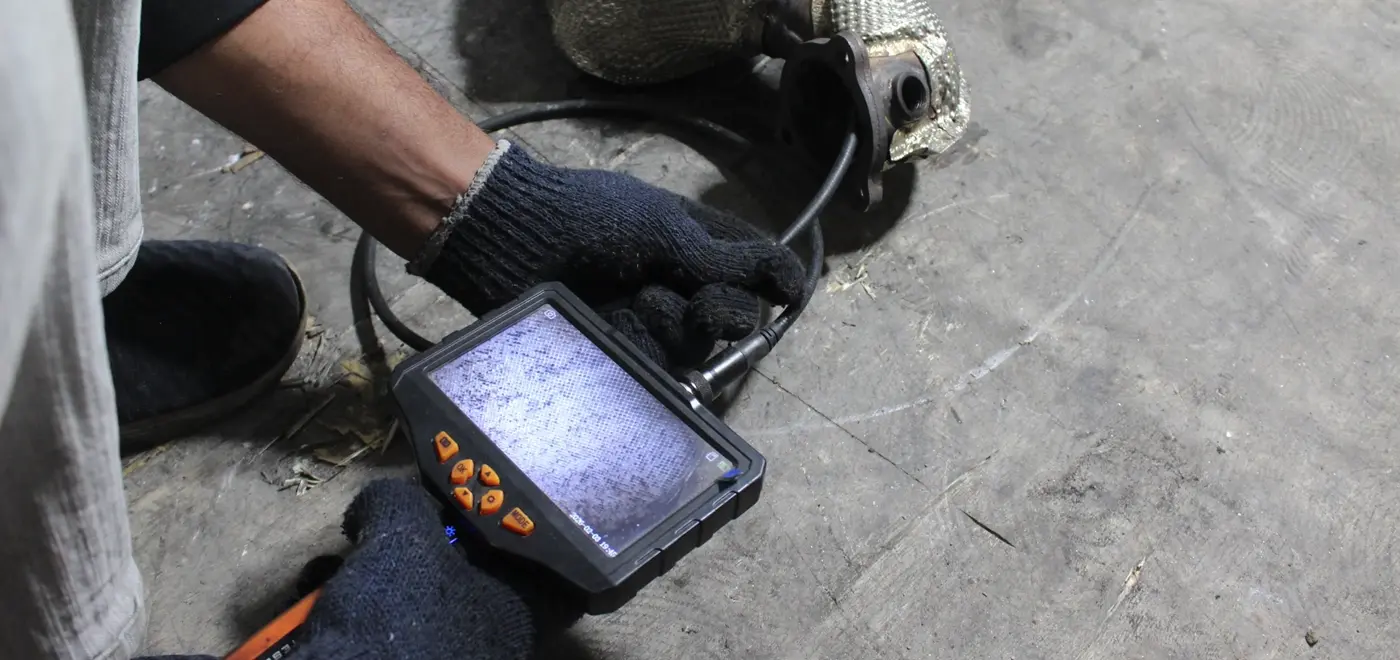
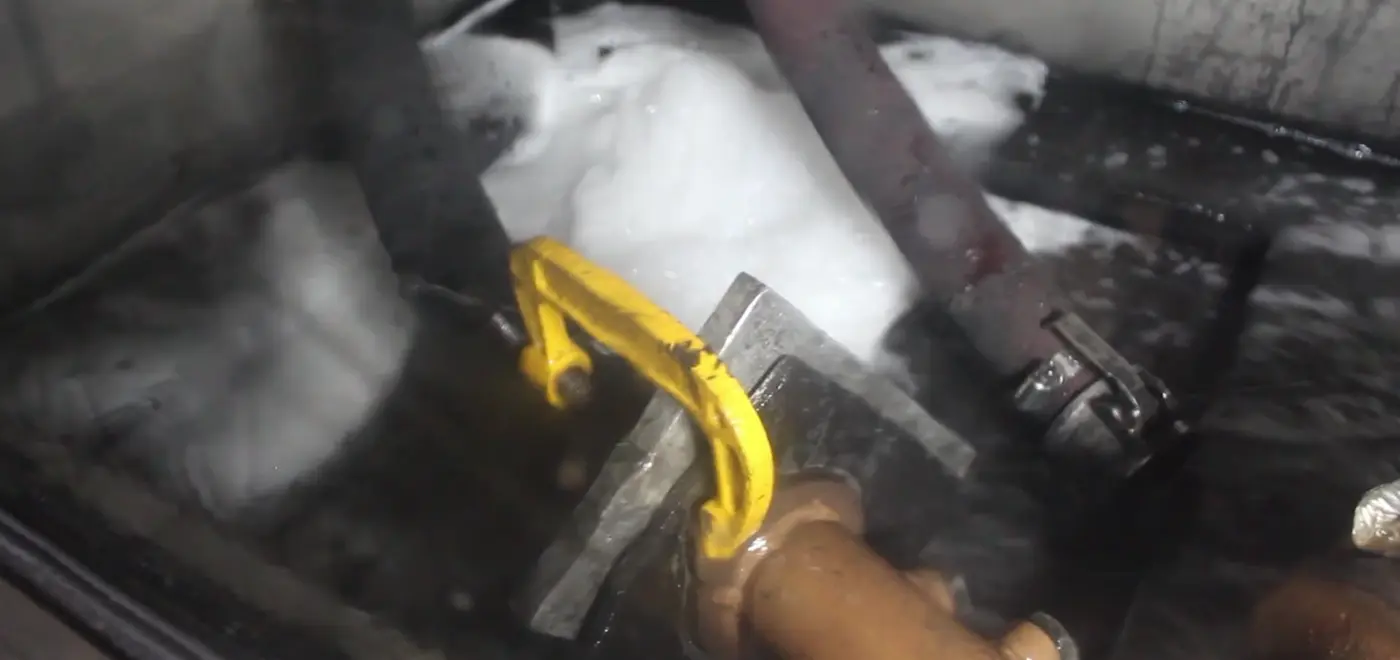
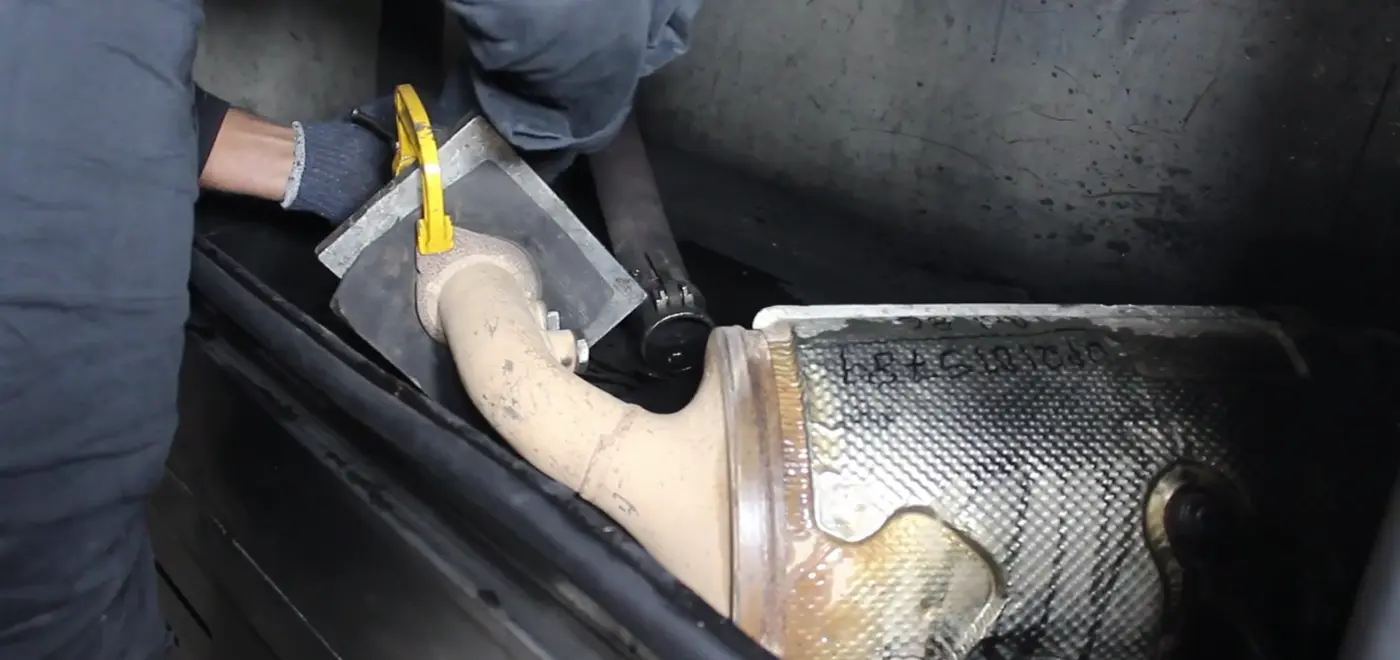
Photograph to come
Diagram: where the filter sits in the after-treatment system
Two numbers, and both of them are yours
We do not publish typical figures, because the only ones worth anything are the ones taken off your filter. Both are measured on the same calibrated bench before and after cleaning, and both are issued with the job report.
Flow
ml / min
How freely the filter passes air. Measured before cleaning to establish the baseline, and again afterwards. The difference between the two is the result, and the job cannot be completed here without both readings on file.
Back pressure
Pa
What the engine has to push against. This is the figure behind the symptoms an operator actually notices, and it is measured rather than inferred from a warning light or a sensor that may itself be at fault.
A filter that does not improve on the bench is not a job we will charge for as a success. That is the point of measuring twice.
About the process
Turnaround, method, and what cleaning can and cannot recover.
Most passenger car and light commercial filters are completed within a single working day, typically four to eight hours from the filter reaching us to it being ready for collection. Heavy commercial and off-highway filters may take longer depending on size. Note that we clean the filter itself: it comes to us already removed, and goes back to your own workshop to be refitted. Fleet customers on contract can use our loan filter pool, so a cleaned filter is available to go on as yours comes off, which keeps the vehicle earning while its own filter is here.
Yes, where the performance loss was caused by exhaust restriction, which it usually is. A blocked filter raises back pressure, which directly reduces power and increases fuel consumption. Our flow bench testing regularly shows restoration to within 95–99% of original flow, and the corresponding recovery in power, throttle response and fuel economy is immediate and measurable. What cleaning cannot fix is a performance problem with a different root cause, which is precisely why we diagnose before we clean.
Every job begins with a measurement
Book the vehicle in and the diagnostic pass tells us, and you, what the fault actually is before anything is removed, cleaned or charged for.